Studio Artist is an incredibly rich sand box for artistic creative exploration and discover. Creativity is an active process of discovery of new ideas. Typically by generating many trial ideas, and then discarding useless or unproductive ones.
I thought it might be illuminating to break down a particular instance of some personal creative exploration that happened while working with Studio Artist. Both to show off some Studio Artist features you may be unaware of, and also to touch on the whole process of creative flow and being willing or flexible enough to go where it takes you.
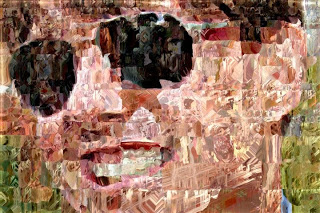
I’m going to focus on the creative process i went through to generate the image above. Getting to this final image involved following a creative journey. I started by taking my initial thoughts on what might be a fun project and then modified them several times as the work progressed. I ended up with a final artistic approach that was somewhat different than my beginning conceptions, expanding on my initial ideas in some new and interesting ways.
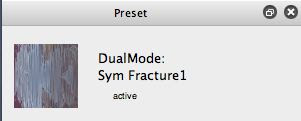
My initial thoughts on this particular creative session involved working with the Dual Mode Paint operation mode to create a paint animation. Dual Mode Paint is a hybrid painting operation that combines a paint synthesizer painting preset along with a dynamic image processing effect.
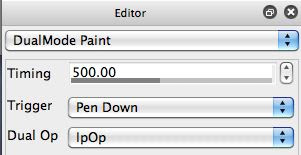
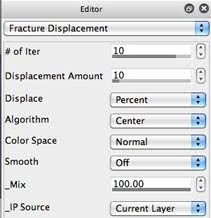
The particular dual mode paint preset i put together involved a combination of a paint synthesizer preset that generates painted symmetry effects in combination with the Fracture Displacement image operation.
The image below is an example generated using my custom dual mode paint preset. I thought it was generating some interesting abstract painted imagery, but i wasn’t really happy with the animation output when i generated a short test movie using the Studio Artist movie stream auto-write features.
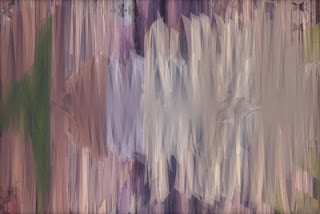
So i thought it might be fun to take my paint animation movie and load it as a source movie so that i could further process it, to perhaps generate a more interesting paint animation. I put together a paint action sequence (PASeq) that composited together a warped version of each source frame with the original painted frame along with some cleanup image processing effects to sharpen and boost the contrast of the painted movie frames. I then processed my initial paint animation source movie using my custom PASeq to generate a second paint animation movie file.
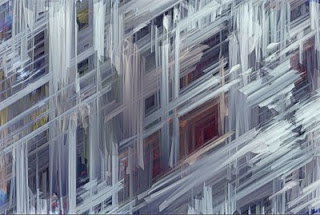
The image above is an example of one frame from this second modified paint animation movie. I liked the individual painted frame imagery in this second movie better than my first pass at a paint animation, but i still didn’t really like the animation itself as much as the individual frame images. So i decided to try a slightly different approach. Since i liked the frame imagery as a collection of still images, i thought it would be fun to try using my second paint animation movie as a movie brush in the Studio Artist paint synthesizer. That way i could build a larger canvas out of the individual movie frames and their interesting painted textural qualities.
Rather than starting from scratch, i decided to start by taking an existing movie brush preset and modifying it to use my second paint animation movie as the movie brush. I picked the 4.0 Collection B : RegionFillBrushMovieTest : moveTest4 paint preset. It references one of the example movie brushes in the Brush folder provided with the factory paint presets. The image above is an example of the kind of effect generated by the original movie brush paint preset. The image below shows some output from my modified paint preset that used my second paint animation movie as a custom movie source brush.
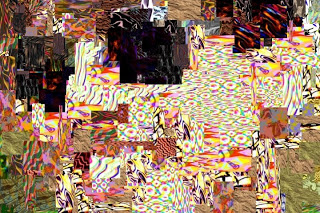
At this point i liked the textures being generated by the movie brush, but i wanted to try a different arrangement for the blocks of texture being applied to the canvas. I decided i wanted something more ordered rather than just random placement, so i edited the paint preset to use the Adaptive Block Regionize path start generator and the Path Start Regionize path type. I set the max stroke option in the path start control panel to 100 so that i would get a fairly coarse layout of large blocks in my photo mosaic image. The image below shows an example of the kind of output i was able to generate after making these editing changes in the paint synthesizer.
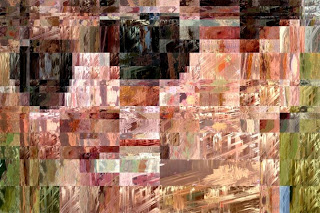
At this point i was liking the layout and quality of the textured blocks. But i wanted to introduce a little more of the original source image edge detail into the mosaic canvas. So i switched the path start generator to the Adaptive Block Regionize DM option. The DM options for all of the path start regionize generators break up the individual generated paint regions into dual regions that split along edge features in the original source image. I also turned on the Local Region nib masking in the paint fill apply control panel so that each paint region was auto-masked rather than drawn as blocks.
I also set the selection to the source image, and applied a slight interactive warp to the mosaic canvas using the Selection Modulate Translate interactive warp option. This helped break up the regularity of the textured mosaic blocks a little, leading to the more organic final output image shown below.
You can use the Canvas : Selection : Set to menu commands to set the selection buffer to a number of different images. In this particular example we’re using the selection buffer as a modulation source for an interactive warp. Modulating a warp based on the source or canvas image is a useful trick to add some organic complexity to a canvas, or to simulate image through glass effects with more extreme warps.
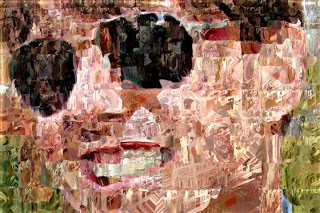
So, the final image i generated in my creative journey was very different than my initial impressions of what i was setting out to accomplish when i first sat down to create a paint animation.
The process of creative expression is really a journey of discovery. In this particular example i was willing to ‘go with the flow’ and ended up at a very different place than my original intentions. But even if i had persisted with my original goal of generating a great paint animation, i would have tried out and discarded a series of artistic ideas and potential techniques to arrive at my final result. That process could be as simple as trying different paint presets or paint synthesizer editing decisions to perfect a particular paint aesthetic. Or in this particular example, re-conceptualizing my initial goal of creating a paint animation to utilizing the results of a paint animation as a movie brush to build a mosaic painting from the individual textured frame images in the paint animation movie file.
For Further Study
This tutorial touched on a number of different Studio Artist features. The Studio Artist Tips site provides a weath of information on different Studio Artist features. Some specific tips related to the discussion in this tutorial are detailed below.
This tip discusses how to work with movie streams to generate movie output as you live paint in Studio Artist.
This tip discusses how to make a movie brush to build a photo mosaic paint preset.
This tip provides some more informariton on working with paint regionization in the paint synthesizer. This tip provides some example brick wall mosaic paint presets you can modify to use your own custom movie brushes with.
This tip provides an introduction to DualMode Paint.


I often try to explain to artists who use other programs just how different SA is. My usual point is not built around the features of the program as much as the process. SA if you let it will be come a partner in the creative process. This post is a wonderful example of that observation.
Thanks John.