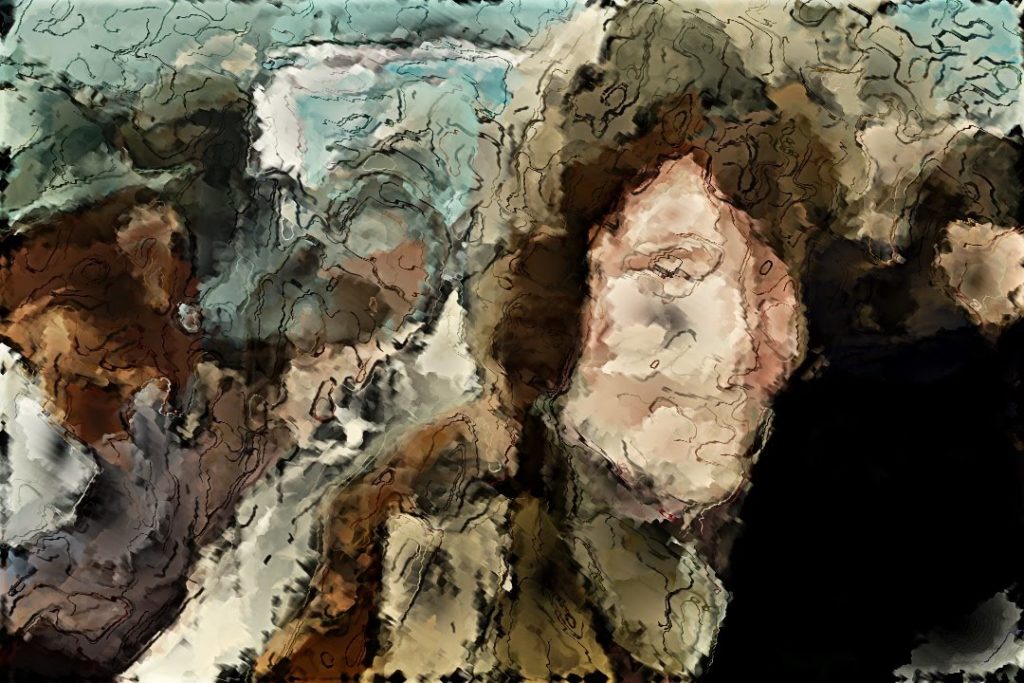
This tutorial continues our recent series delving into the secrets of fine tuning auto-regionizing paint effects using the Studio Artist 4 paint synthesizer. In this post we’ll be examining different fill strategies for auto-painting in individual regions. The example above was created by using 3 different auto-regionization action steps incorporated into a paint action sequence to build up the final paint styling.
The automatic regionization effects discussed in this tutorial are all created using the path start regionize generator options available in the Path Start control panel of the paint synthesizer. The path start control panel specifies how individual paint strokes are initially positioned in the canvas.
The path start regionize generator options are unique, in that they first intelligently analysis the current source image, breaking it up into a series of individual regions for painting. So in addition to generating a series of start points they also generate a series of region outlines that can then be filled in using the controls in the Path Shape control panel.
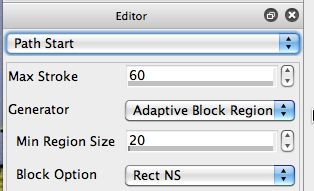
For the examples below we’ll be using an Adaptive Block Regionize DM path start generator. This particular regionize generator produces a series of rectangular regions that are adaptively positioned and sized to represent the source image. We’re using the DM option to then additionally split the blocks to better reproduce the source image details.
As discussed in the previous tutorial post, there are 2 Path Type parameter options in the Path Shape control panel that are specifically designed to be used with path start regionization effects. These are the Path Start Regionize and Path Start Regionize Use RegionDraw Pen Mode path type options.
Path Start Regionize Shape Types
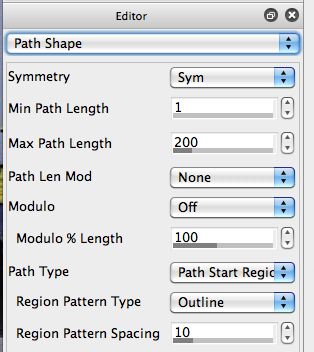
We’ll start by examining the different options available using the Path Start Regionize path type. This path type is specifically designed to be used with path start regionize generators, and will not do anything useful when used with other path start generators that don’t perform adaptive regionization. When you select this particular path type you are presented with some additional editing controls that allow you to determine different fill patterns for painting in each generated region.
The simplest region pattern type is outline, which just generates a path for the region outline with no internal fill patterning. As seen in the example below, using this option generates a preset that only paints in the outlines of the individual path start regions.
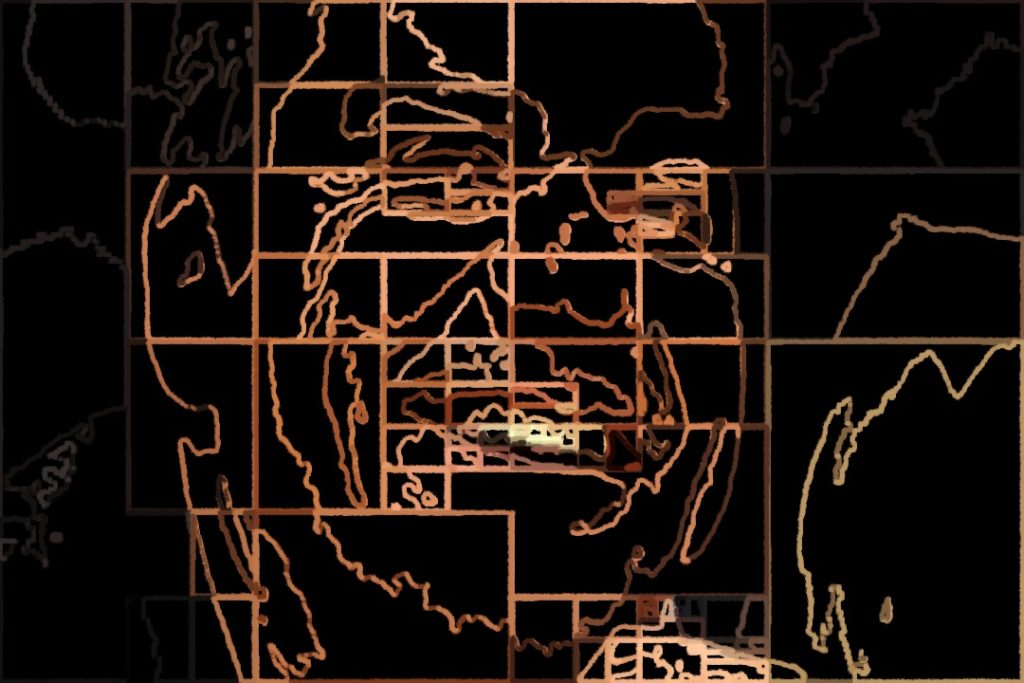
This example is useful to get a sense of how the adaptive block regionize path start generator is breaking apart the source image of a face into different individual regions. Because we used the DM option we can also see how the individual rectangular blocks were additionally split to better reproduce the original facial features in the source image we are using for these examples. By working with the Max Stroke count and the Block Option controls in the path start control panel we could adjust the number of generated regions and how they are adaptively positioned.
Most of the Region Pattern Type options specify some kind of internal fill pattern for painting in the individual regions. The Hatch1 option shown in the example below fills in the regions with a one-dimensional hatching pattern.
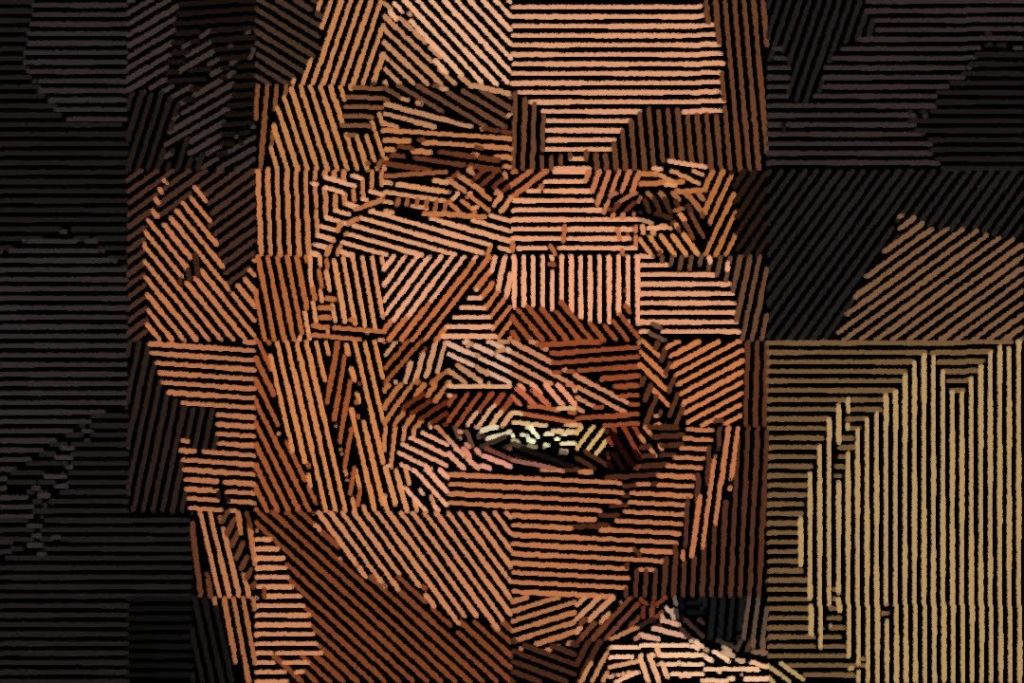
The spacing between hatch lines is determined by the Region Pattern Spacing control. Depending on the size of the source brush you are painting with you can adjust this parameter accordingly. For this example we left some blank space between hatch lines, but by using a larger brush size or a smaller region pattern spacing we could introduce overlap between the individual painted hatch lines.
The Path Angle control panel settings also influence the appearance of the generated fill patterning. In this particular example above the orientation of each regions hatch patterning is determined by the Path Angle option, which is set to Orient. This setting means that the angular orientation of each hatching pattern is trying to best match the associated local visual orientation of the source image.
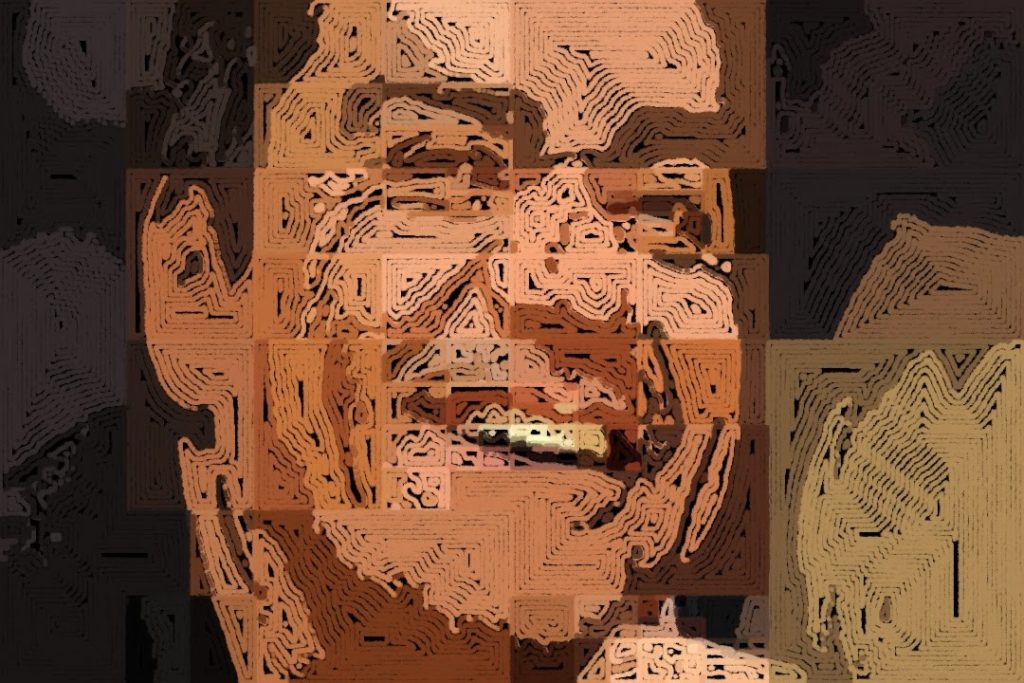
Outline Fill is another popular region pattern type, and is shown in the example below. Outline Fill paints in the entire region starting with the outer boundary and then moving inward towards the center with progressively smaller internal boundary circling.
Path Start Regionize Use RegionDraw Pen Mode Gen Shape Types
The other path type associated with path start regionization is the Path Start Regionize Use RegionDraw Pen Mode Gen path type. When you select this particular path type, the generated region fill patterning will be based on the current settings of the RegionDraw pen mode controls, which are located in the Pen Mode control panel.
RegionDraw pen mode normally works by having a user interactively draw a local region with the pen, either by extending an ellipse or rectangular shape, or by working with a temporary lasso pen line. After the interactive region is specified, it is then painted in with an algorithmically generating path pattern. The fill pattern is specified by the Region Fill Type and Region Spacing controls in the Pen Mode control panel. These same controls specify the region fill patterning when used with the Path Start Regionize Use RegionDraw Pen Mode Gen path type.
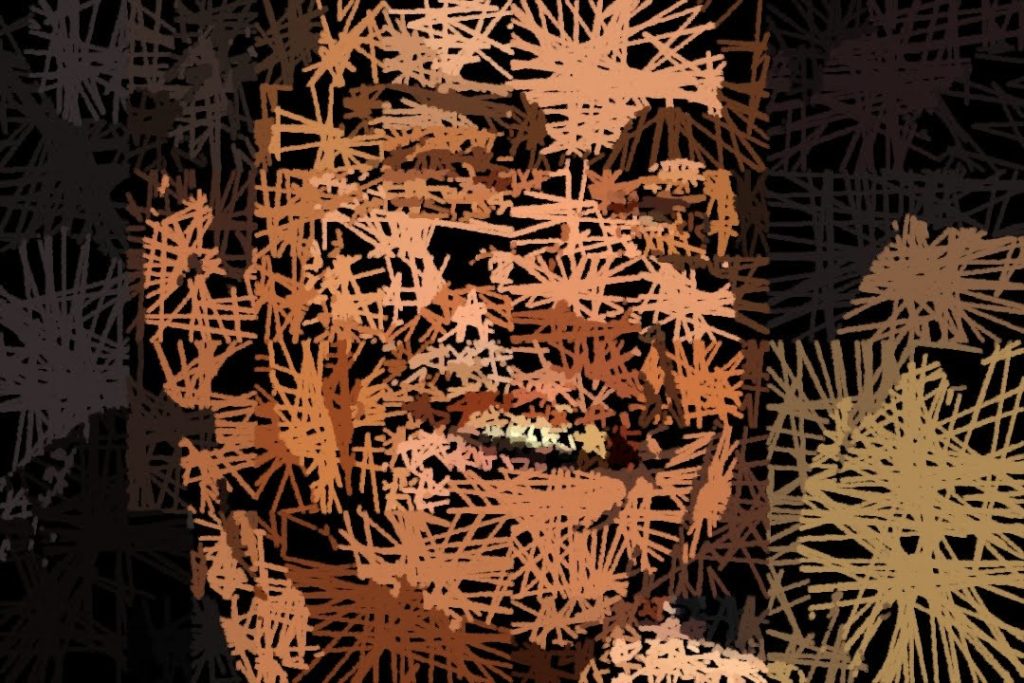
The example below shows off using the ellipse edge scribble fill option for the region fill type parameter.
Region Draw as Pen Solid Fill
Up until now we have been discussing different strategies for painting in path start regions with paint paths following various fill patterns. However, there’s an entirely different approach you can take when generating automatic regionization paint effects where each generated region is filled like it is a single brush nib. So the region can be thought of as a solid area fill, as opposed to a collection of individual fill paths painted in with paint on a brush following the path lines. To do this you want to take advantage of Studio Artist’s Region Fill as Brush pen modes.
The Region Fill as Brush and Auto Region Fill as Brush pen modes work very differently than the other Studio Artist pen modes. Most pen modes generate a painting path and then fill it in by painting over the internal generated path with a series of nibs of paint. This emulates a paint brush filled with paint following a painting path over an area to distribute paint onto a canvas.
Region Fill as Brush treats the initially drawn path as the outline of a specified region. The region is then filled with a single brush nib whose shape is the specified region. So when used with path start regionization this pen mode will treat each of the generated regions as a single dynamic brush that is filled based on the settings in the Region Fill as Brush control panel. One example of this kind of path start regionization is shown below.
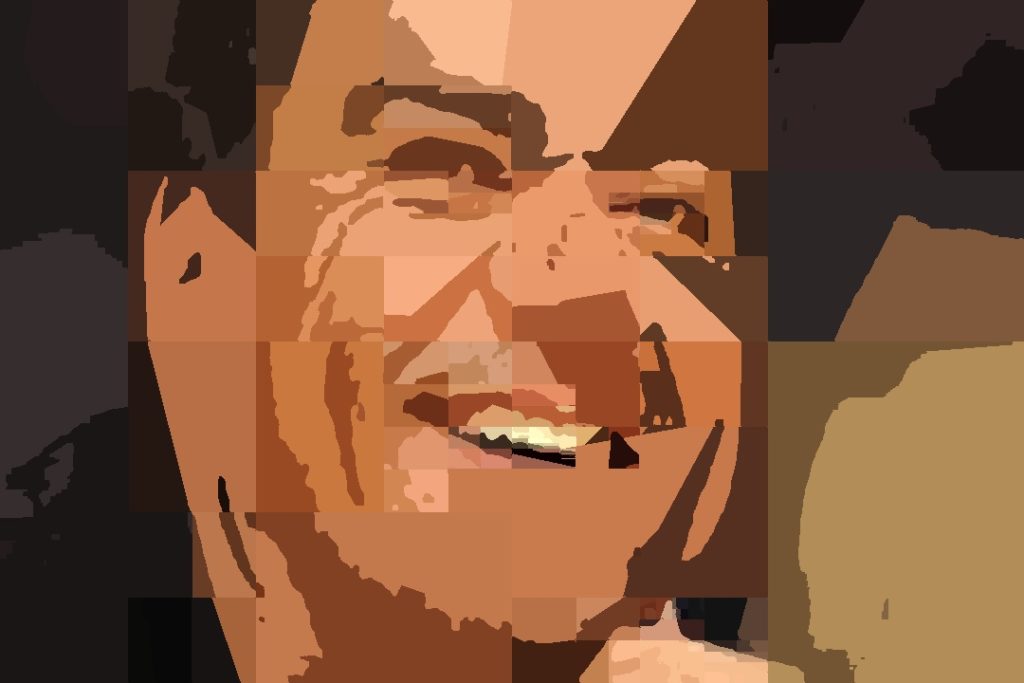
This example uses the default region fill as brush control panel settings, so each of the generated path start regions is filled with solid color. For this simple example we used the Outline region pattern type option for the path start regionize path type used in the outline painting example above. Because we are using the region fill as brush pen mode, the generated outline path is used to define a solid fill region as opposed to defining a painting path.
By working with the different controls in the region fill as brush control panel, and by selecting different path type options for building the fill paths for each path start region, you can generate a wide range of different paint effects that are very different than the more conventional paint in each region with a fill pattern examples we’ve shown up until this point.
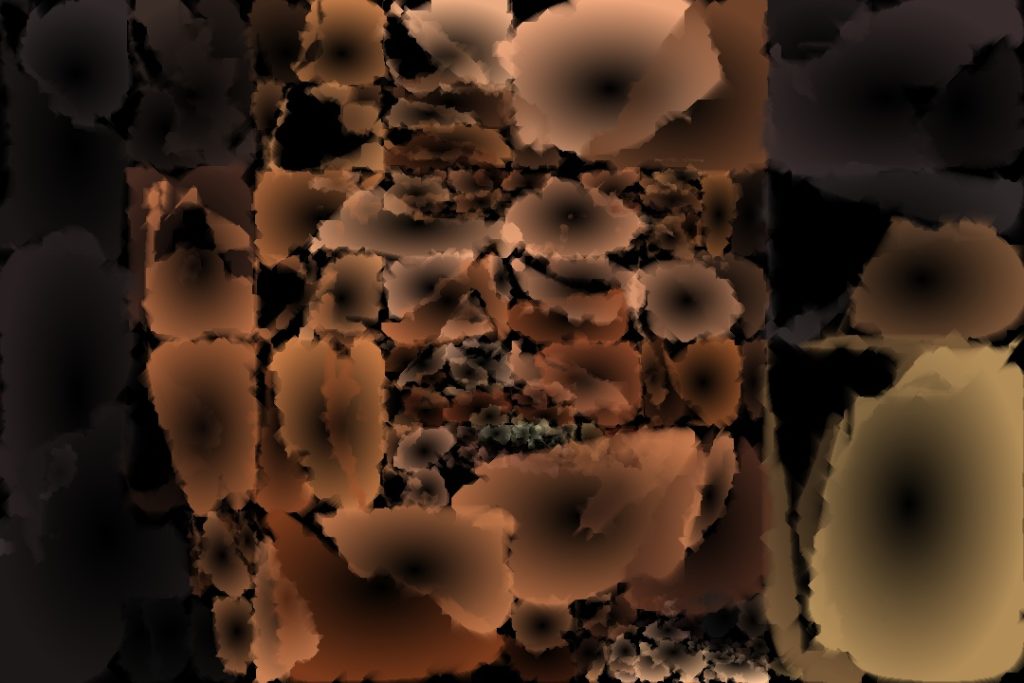
The example above shows off using the Ragged Feather and Inverse Radial Gradient processing options in the region as brush mode control panel. This example also uses a stylized region generator to distort the initial shapes of the auto-generated regions. The other example below shows off using a Linear Gradient processing option with a rectangle generator.
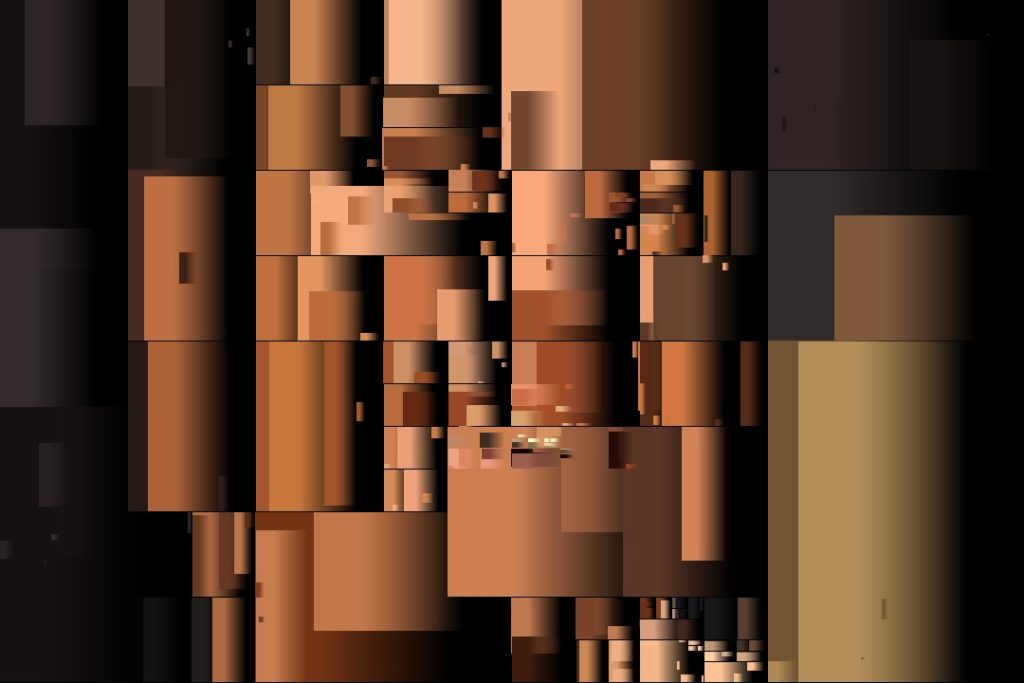
The first example at the very top of this post used 3 different applications of auto-regionization using the region fill as brush pen mode to build a more sophisticated aesthetic painting style. By working with multiple passes of auto-regionization effects and working with the different regionization approaches discussed in this tutorial you can create an immense range of different potential stylistic effects.
The region fill as brush options detailed above are particularly effective for building watercolor effects. This pen mode also offers dual paint options that allow for an initial solid coloring of a region followed by a second application of conventional paint nibs along the region outline path. So you could fill with solid color and then automatically apply a water wash to the region edges.
For More Information
The first tutorial in this series, which focuses on editing strategies for building paint regionzation effects is available here.
The Paint Synthesizer chapter in the Studio Artist User Guide pdf includes detailed descriptions of all of the various paint synthesizer editing controls discussed above.


