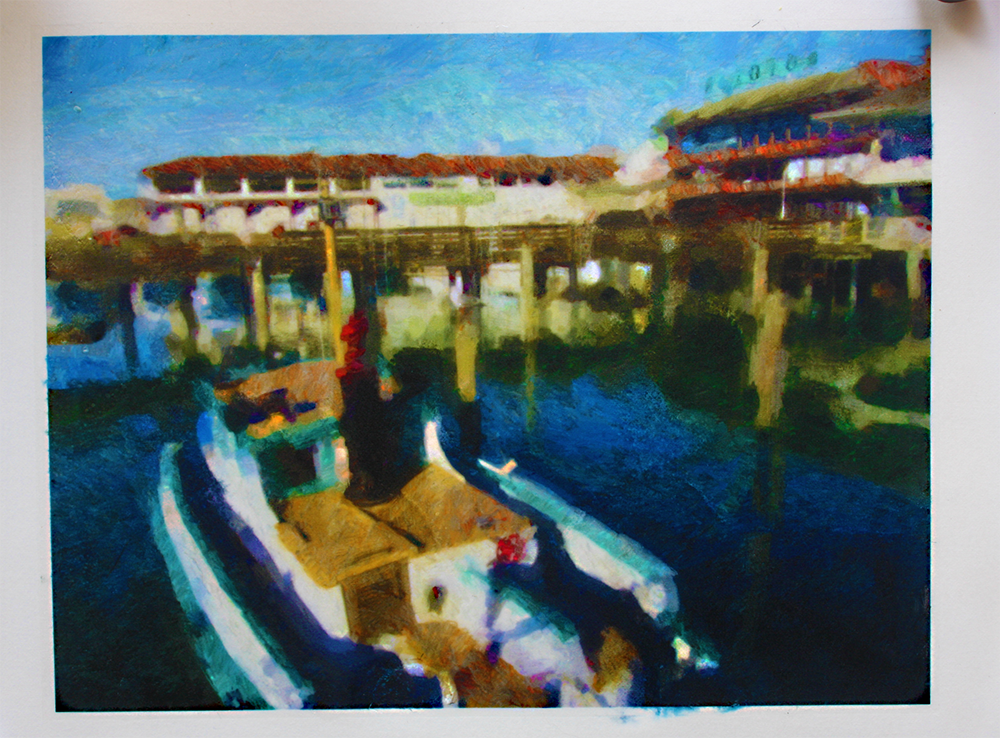
Studio Artist user Mark Gould has been recently exploring image transfer printmaking based on his Studio Artist generated digital artwork. The photo above is one example of a finished transfer print. Mark was kind enough to share some of the technical details behind his artistic process below.
“The archival image transfer process is fun and pretty simple. It involves using an alcohol based substance to manually transfer the ink from a high quality pigment inkjet print (originally printed on a transparency film) to thick printmaking paper. The resulting transfer print takes a digital image and renders it with visual attributes associated with a hand printed image. From there the print can also be additionally overpainted with acrylics, watercolor, or inks if desired.
When I say pigment inks that is what will get optimum results and what the higher end HP and Epson printers use, but any inkjet printer will work. Color laser printers will also work, although I haven’t worked with them, and they require a different set of transparencies, papers and materials but get equally fine results. As for the transparencies, you can see below that one of the manufacturers I’ve used with success is Apollo, who makes them for inkets, lasers, and copiers. Their phone is 1-888-296-8676, and you can find them on Amazon at this link.
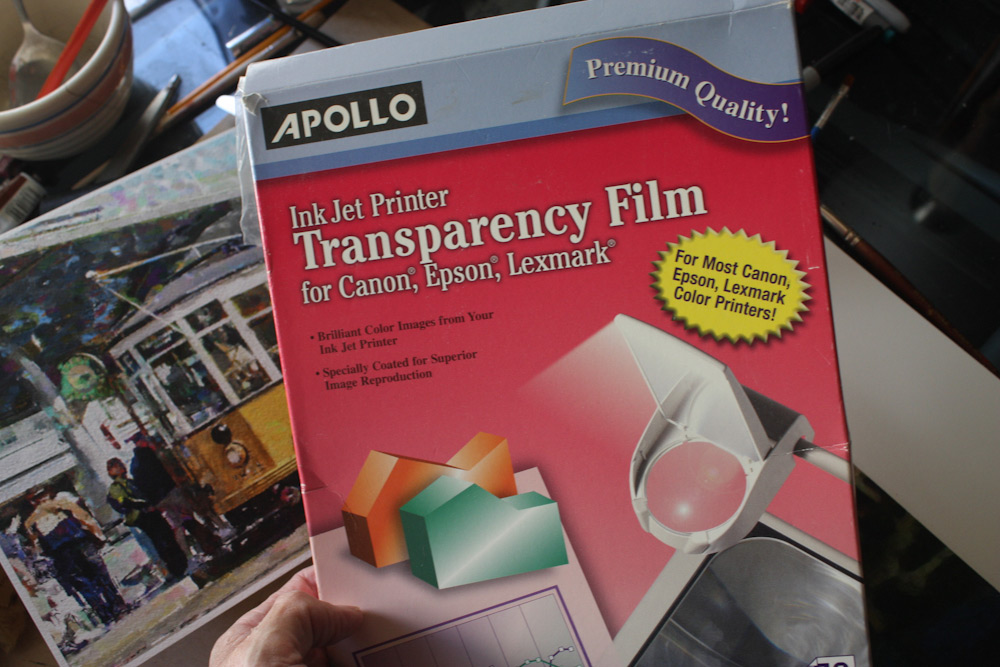
There have also been books and DVD’s made about inkjet transfers, and Apollo certainly isn’t the only transparency company out there. People can search either on Amazon or Google. There’s also a company that’s specifically in the image transfer business called Digital Art Studio Seminars. They sell the transparency film at a range of sizes including up to 42″ x 75″ rolls for those large format printers. They, and other companies, also have videos and are now putting on seminars that explain how to do the inkjet to printmaking paper process. They also have seminars in transferring to acrylic media for those who want to pursue painting on the image in either acrylics or oil paint.So, what I can tell you specifically about is the process I’ve worked with so far to go along with the images below:
1. I first print out to the transparency, making sure in Photoshop that in the print settings “Mirror Image” is clicked on. That’s because when you lay the print down later, the emulsion side will be facing down.
2. For the most part you want smooth, heavy, or “hot press,” printmaking paper. I use 140lb or 300g or higher, although that’s a personal call. But because you’re wetting down the paper with alcohol and perhaps later with paint if that’s your intent, you want a thick paper that will stand up to all this. You will want to have printed out your Studio Artist generated image to transparency first well in advance before proceeding.
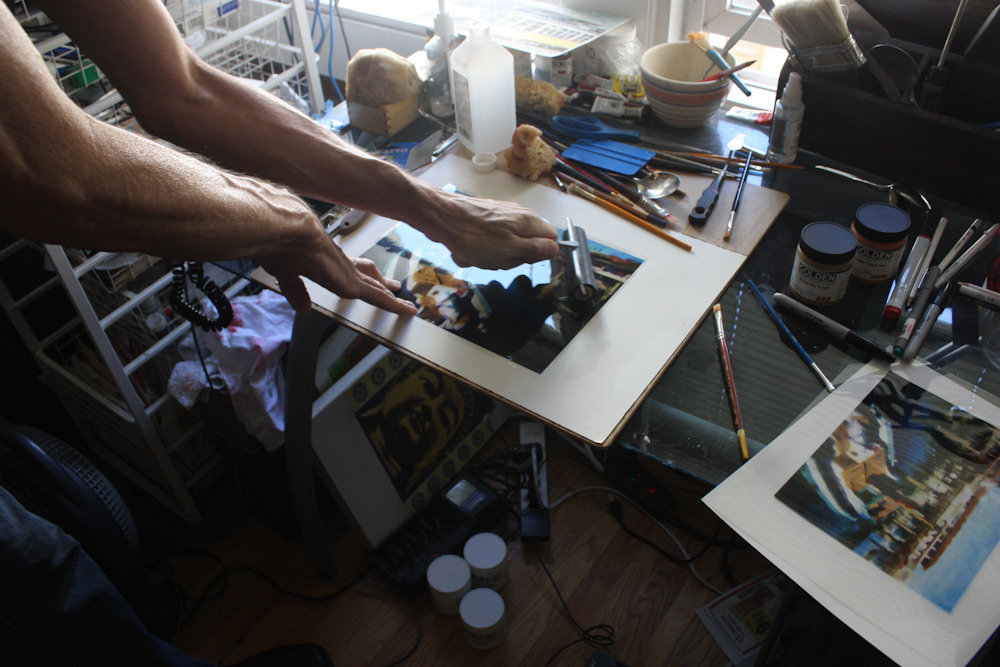
3. It seems different people have different concoctions but this is what works best for me. For the most part the substance is mostly 91% isopropyl alcohol, mixed with, believe it or not, alcohol based hand purifier to give it a little density. I wet a sponge with the mixture and wipe the paper down, in circular directions, to make sure I’m getting good coverage.
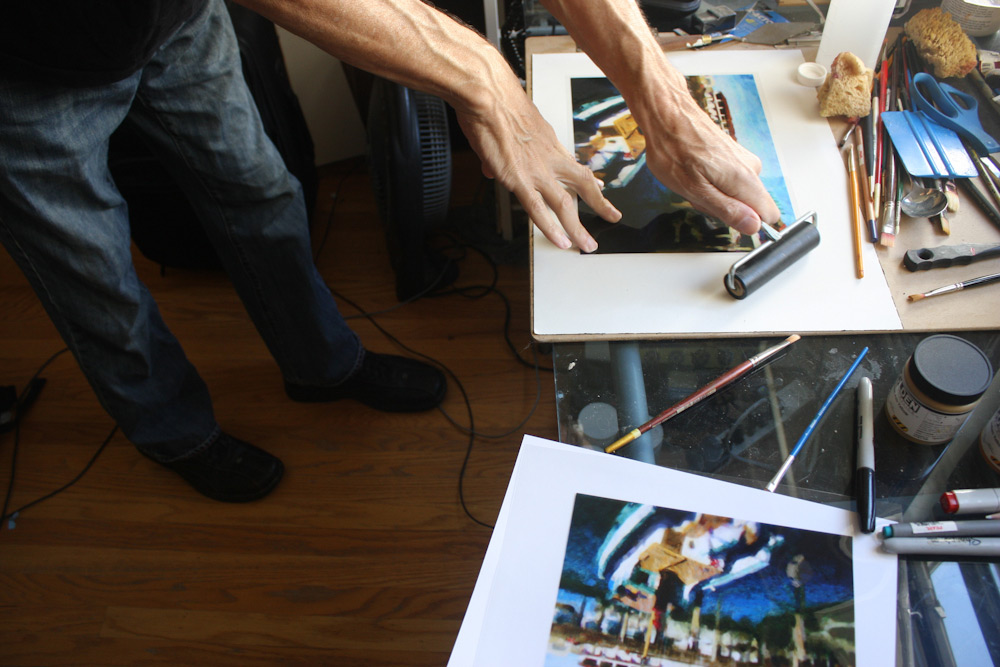
4. Then I lay down the transparency carefully on top of the alcohol wetted paper, and begin rolling over the top of the transparency sitting on the wetted down paper with a roller or brayer, a plastic card, a credit card or even a spoon.
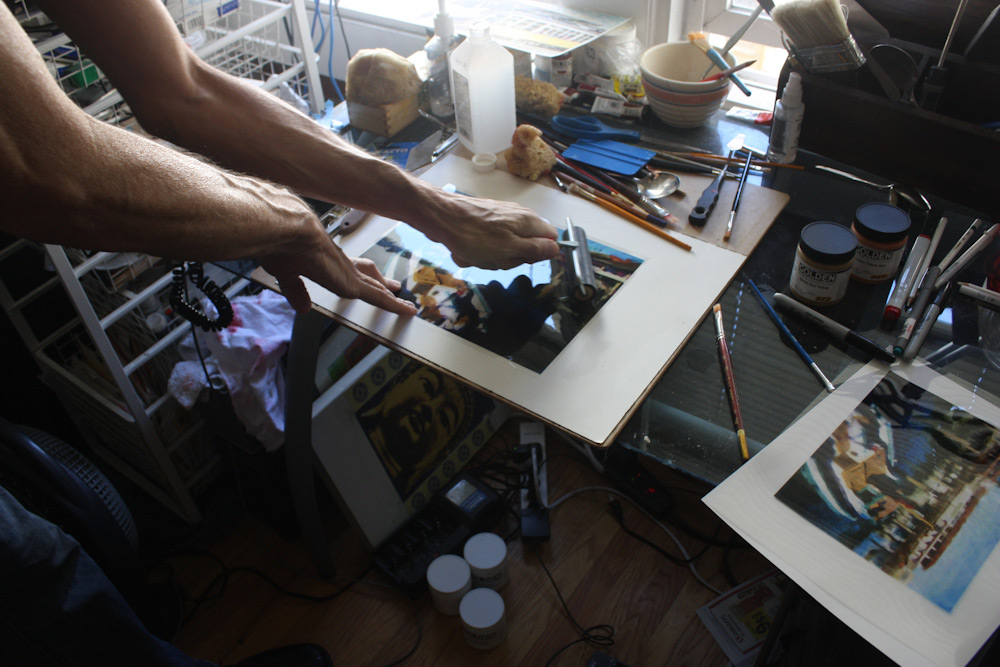
Quite often the analogy has been made between this process and polaroid transfer art that you may have seen and I think it’s a good analogy. You’re not necessarily looking for a perfect image, especially if you intend on using collage or paint at some point, it doesn’t have to be perfect. And the imperfections of the transfer process give the resulting print an organic hand made feel. As others have said, if you want a perfect image there are better ways to get the image than this!
5. When I first started I found that I would try this or that and that the transparency would stick in places to the paper. The recommendation was that you peel up the transparency very slowly and carefully in a corner or two.
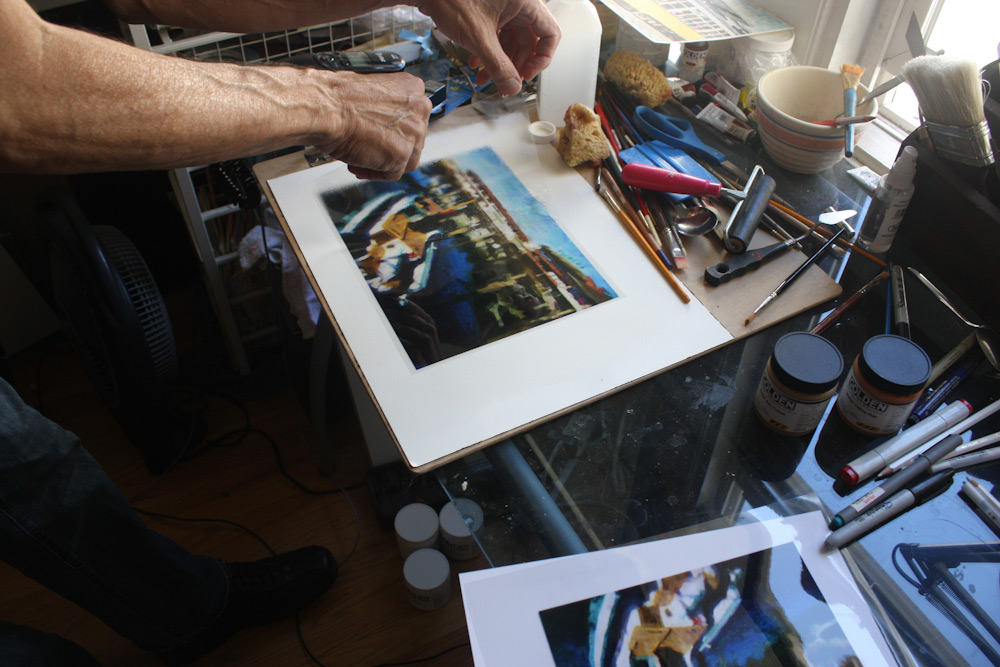
Then, using alcohol in a Holbein mist sprayer that you can find at many art supply stores or similar, spray the area carefully, lay the area transparency back down, and keep rubbing.

Depending on on how much substance you’ve used the more “watery” the image becomes, but again, that might or might not be a good thing that becomes part of the overall process. I’ve found so many times that, this is one of those trial and error processes, so if you don’t possess patience going in you will probably learn it, or you won’t stay with this kind of process.
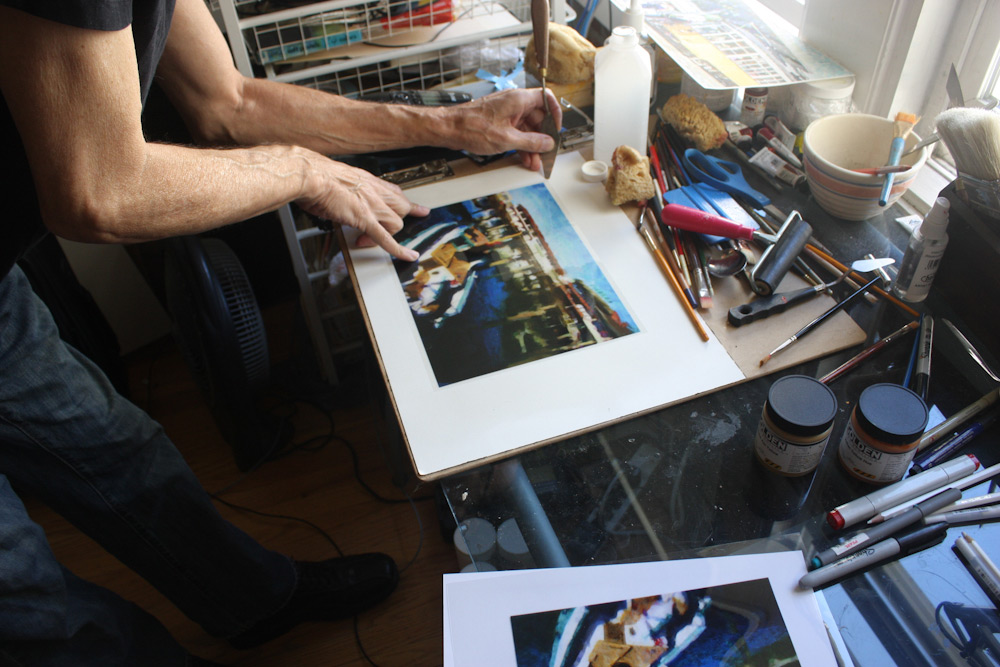
But I found over time that for me, it was a matter of using more alcohol, wetting down the paper more and more, until at one point after making sure the ink was rolled onto the paper, the film almost lifted right off the paper.
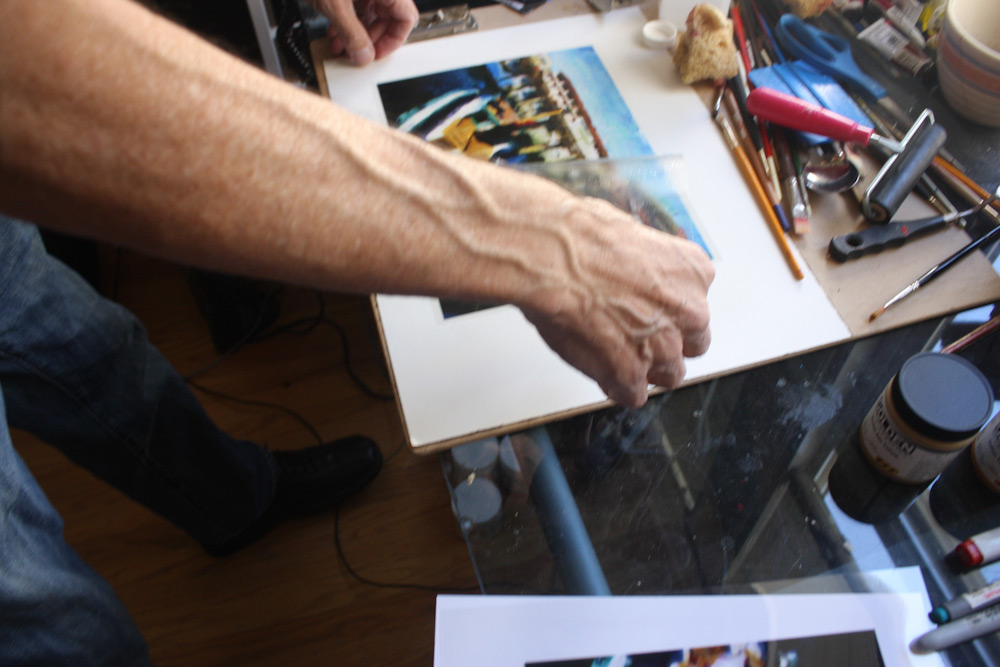
I’ve done some great watercolor overpainting work, and I’m experimenting with overpainting acrylic which is proving to be a bit tougher since acrylic is so opaque you only have so far you can work with it before the original image disappears. I’m learning how to work with mixing the paint with different acrylic gel media, which have different degrees of translucency. I can safely say the acrylic work will be reserved for the more abstract work :)”Marks portfolio web site is located here. He also has a San Francisco aesthetic site which makes me a little homesick here.


The transfer printing process discussed here is very similar to what Studio Artist user Mark Gordon used for his work we discussed at
http://www.synthetik-studioartist.com/search/label/Mark%20Gorden
Cool thank you for the tips!
– Thor